
AssetRipper vs AssetStudio: the short answer
Choose AssetRipper when your goal is to test a project-oriented Unity export workflow and you can provide a supported input. Compare AssetStudio when you need to inspect or export individual data from a particular file, reproduce an older tutorial, or check whether a second parser interprets the same sample differently. These are starting points, not guarantees: the exact result depends on the file, Unity version clues, tool build, dependencies, and export settings.
There is no reliable winner without a defined task. A viewer that opens one legacy file may help even if it does not create the project structure you need. A project exporter may fit reconstruction work but can still omit unsupported data or require cleanup. In an AssetRipper vs AssetStudio test, name the expected files, output format, and acceptable repair before opening either tool.
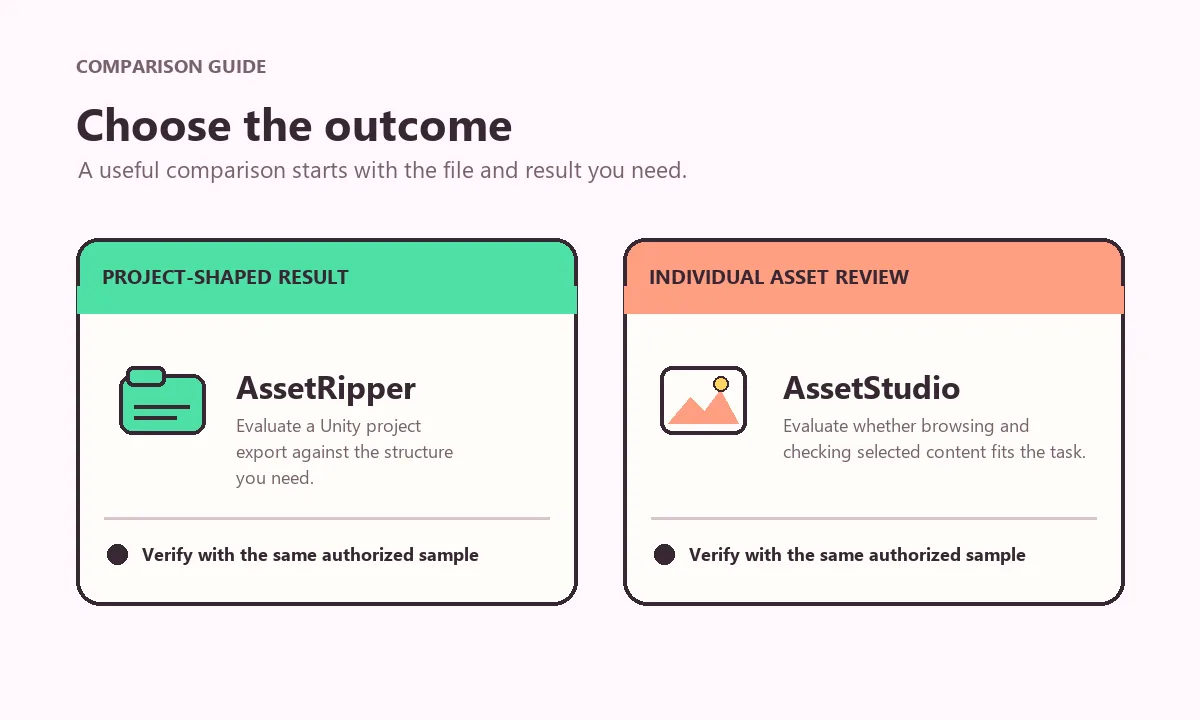
Compare the output you actually need
A project-shaped export and an individual asset export are different deliverables. A reconstructed project may contain folders and references that help you continue in Unity; an inspection workflow may make it faster to locate a texture, mesh, animation, or other object. Do not treat a preview as proof that the exported files are complete, and do not treat a successful export as proof that the result can be redistributed. The output should be checked in the application where you plan to use it.
AssetRipper vs AssetStudio comparisons become clearer when you describe the destination first. If the destination is Unity, record whether the project opens, whether expected assets are present, and which dependencies need repair. If the destination is a model editor, record the intermediate format and whether materials or textures came along. If the goal is only to identify an object, note whether the viewer displays enough metadata to make that identification. This prevents one tool from appearing better simply because the test favored its strongest output type.
| Task | A sensible first test | What to verify |
|---|---|---|
| Rebuild a Unity project | Start with AssetRipper | Folder structure, references, textures, materials, and scene usability |
| Inspect a particular asset | Compare AssetStudio and AssetRipper | Whether the target object is recognized and exported in a useful form |
| Preview an older sample | Use the tool required by the reproducible tutorial | Exact build, file type, Unity clue, and steps that match the source |
| Convert a model after extraction | Use a downstream model editor or converter | Whether a valid intermediate file exists before conversion |
| Work from an original project | Use the Unity Editor and project files | Whether source assets and dependencies are already available |
Input files and compatibility need a controlled test
Compatibility is a property of a specific input and build, not a blanket promise attached to a product name. Unity projects can contain serialized asset files, bundles, metadata, shared resources, and custom packaging. Two files that look similar in a folder may have different versions, compression, dependencies, or encryption. Before comparing AssetRipper vs AssetStudio, identify the exact file or folder you are allowed to inspect and preserve an unchanged copy for repeatable tests.
Look for evidence that can be recorded without guessing: the file extension, size, containing folder, available Unity version metadata, and any error text. If a tool reports an unsupported format, missing dependency, or read failure, capture that message with the tool version and operating system. Separate parser limits, missing companion files, permissions problems, and damaged archives because each calls for a different next step.
Test the smallest representative sample first. A small file reduces noise and makes recognized objects easier to compare. Add only dependencies the sample needs, then repeat with another file only when it represents a different format or version clue. The AssetRipper vs AssetStudio result should describe what worked for those samples, not every Unity project.
Workflow, platform, and learning effort
A useful comparison includes the path from download to usable output. Confirm that each tool came from a project-controlled source, record its version, extract the complete package, and check platform requirements before loading a file. Then use the same input, output destination, and closest equivalent settings. If the tools run on different operating systems, record that too because permissions, dependencies, paths, and memory can differ.
Learning effort depends on the job. A focused inspection can be quicker than setting up a complete project export, while structured output can save time when related files need organization. Include the time spent finding the input, resolving dependencies, opening the result, and correcting references. The first screen is only one part of the workflow: a tool that looks simpler can create more cleanup later, while detailed output may require more setup.
| Comparison point | Record this | Why it matters |
|---|---|---|
| Platform | Operating system and processor architecture | Permissions and dependencies may differ |
| Build | Version tag or release identifier | A result is not reproducible without the tested build |
| Input | File names, types, and required companions | The selected file may not include all dependencies |
| Output | Format, folder, and intended next application | A preview and a usable deliverable are different |
| Effort | Manual fixes and missing items | Cleanup is part of the practical comparison |
Run a fair AssetRipper vs AssetStudio test
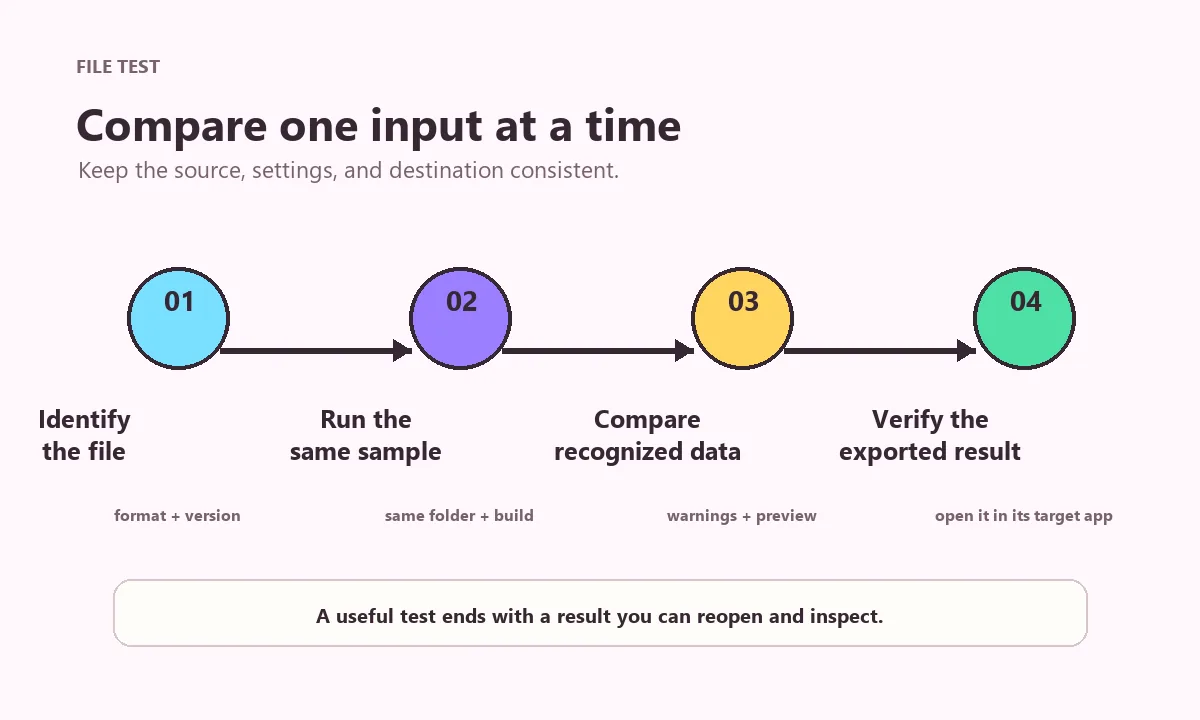
A fair AssetRipper vs AssetStudio test changes one variable at a time. Reuse the same source and settings, and record each build, platform, output, warning, and manual edit. Another person can then repeat the test and see whether a later release changed the result.
When results differ, locate the step: opening the container, recognizing an object, resolving a dependency, exporting, or opening the project. A missing texture may indicate a dependency issue; describe that boundary instead of claiming universal compatibility.
Define one outcome
Write down the exact object or project result you need, the output format, and what counts as a usable result.
Preserve one authorized sample
Keep an unchanged source copy, record the file type and available version clue, and prepare only necessary dependencies.
Use equivalent conditions
Record each tool build, operating system, settings, input path, and output folder. Change one condition at a time.
Inspect the exported result
Open the output in its intended application and check expected assets, references, textures, and warnings.
Write down the boundary
State which sample succeeded or failed, what needed repair, and what the test cannot establish.
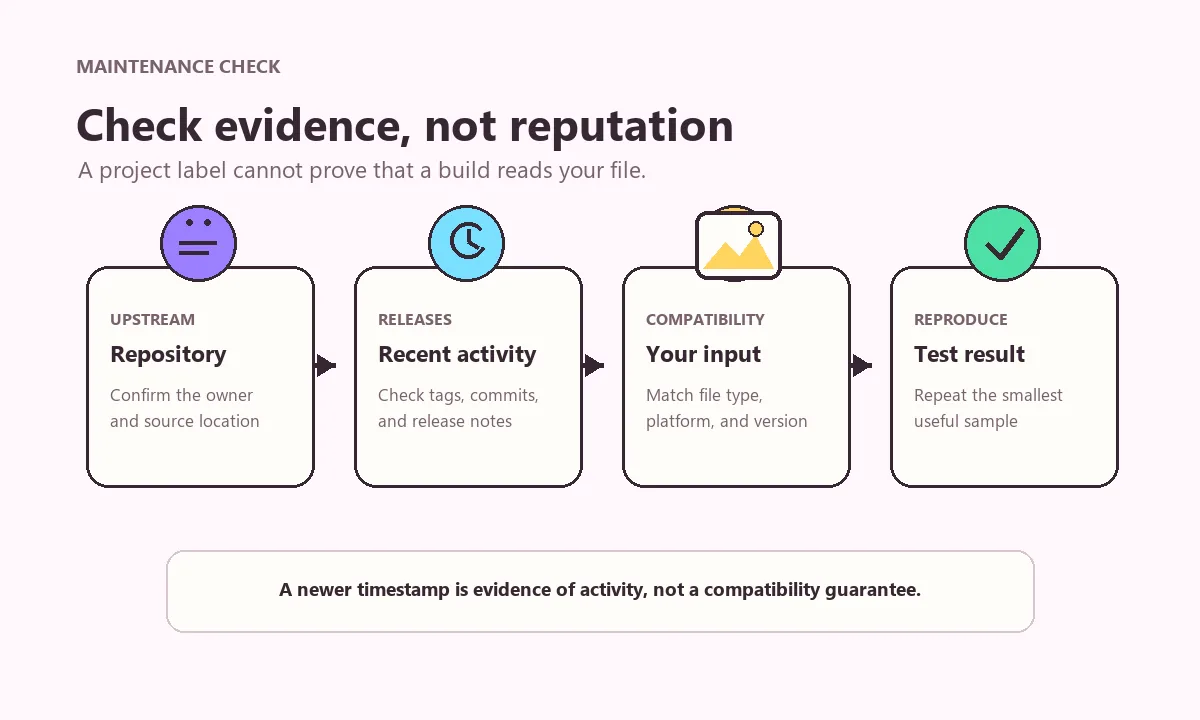
Check project maintenance with dated evidence
Maintenance should be checked at the time you choose a tool. Open each project's source repository and release history, note the latest dated activity you can verify, and review whether open issues or documentation mention the input you are testing. Keep observations separate from conclusions, and include the date because project status can change.
Use first-party sources for project claims. AssetRipper's repository and releases show its source and version context; AssetStudio's source repository shows its own code and issue history. Tutorials can help reproduce a workflow but may assume an older build. Check a release page before making a current-version claim; this guide does not hard-code a latest version.
Choose the tool by task, not by a universal ranking
For a Unity project reconstruction, begin with AssetRipper and verify that the exported folder opens and contains the assets you need. For individual inspection or a comparison with a legacy tutorial, include AssetStudio as a second test when its source and build can be verified. For model conversion, first establish that the extraction produced a valid intermediate file, then use a downstream application for conversion.
If neither tool succeeds, confirm the file type, check companion files and version clues, and read the error before switching. Report the versions, platform, output goal, and the step that changed the result.
AssetRipper vs AssetStudio has a conditional answer: use the workflow that succeeds on your authorized input and creates verifiable output. A second tool can help diagnose a parser boundary, but one success does not prove general compatibility. Avoid modified binaries and publish extracted content only when you have permission.
- Choose AssetRipper for a project-oriented export test when the input is supported and authorized.
- Compare AssetStudio when you need a specific inspection workflow or must reproduce a source-documented legacy process.
- Use the Unity Editor for an original project you own, rather than reconstructing data you already have.
- Use a downstream converter only after confirming that the extracted intermediate file is valid.
- Record unsupported files and missing dependencies as test limits; do not bypass protections.
AssetRipper vs AssetStudio questions
Is AssetRipper better than AssetStudio?
Neither is universally better. Compare the authorized input, version clues, output goal, platform, and cleanup. Verify each build and test the result.
What is the main difference between AssetRipper and AssetStudio?
Compare the deliverable: a project-shaped result, individual asset inspection, or a repeatable test on one file. Verify the output instead of relying on product labels.
Can AssetStudio open every Unity game file?
No. Support can vary by Unity version, bundle, custom container, encryption, and dependencies. Record the sample and check first-party project evidence.
Can AssetRipper replace the Unity Editor?
No. Use the Unity Editor for an original project you own; use an exporter to analyze supported packaged data when needed.
How do I compare the two tools fairly?
Use one authorized sample, equivalent settings, and the same output goal. Record versions, warnings, missing dependencies, repairs, and whether the result opens.
Does extracting an asset give me permission to share it?
No. Reading data does not grant copyright or redistribution rights. Publish only material you are permitted to share.