
Which AssetRipper Linux build should you download?
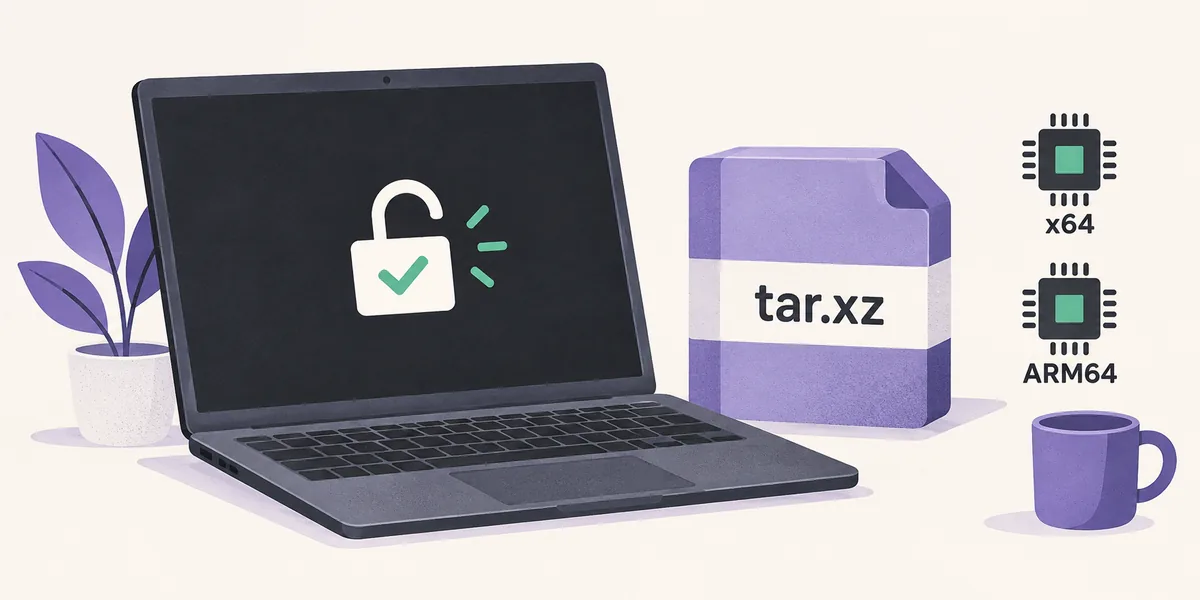
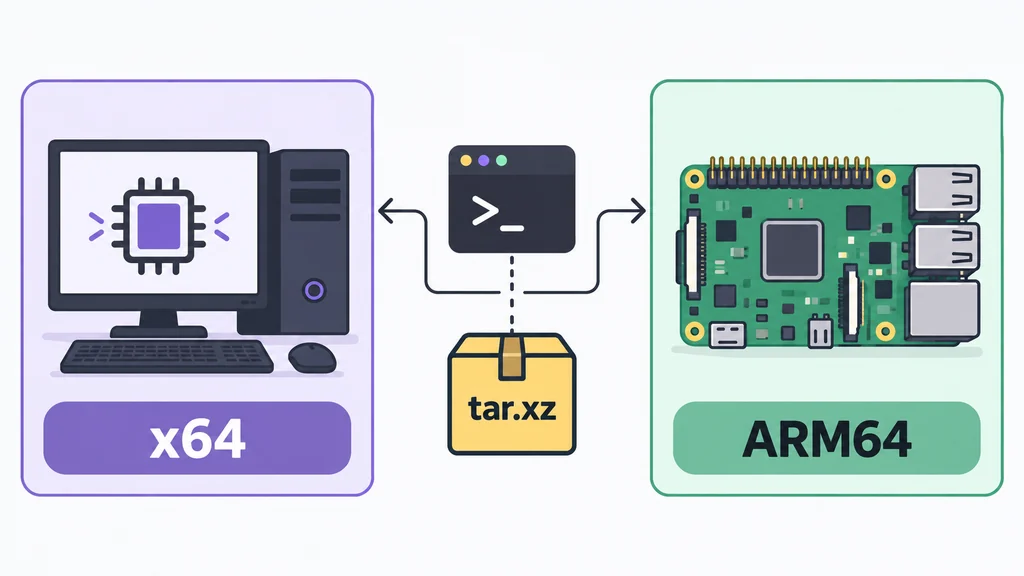
AssetRipper for Linux is distributed in two processor families. Choose x64 on most Intel and AMD desktops, laptops, and cloud virtual machines. Choose ARM64 on a Raspberry Pi-class board, ARM server, or another Linux machine whose architecture reports aarch64. The distribution name—Ubuntu, Debian, Fedora, Arch, or another desktop—does not determine the archive by itself.
Check before downloading with uname -m: x86_64 maps to x64, while aarch64 or arm64 maps to ARM64. The official 2.0.0 metadata lists AssetRipper_linux_x64.tar.xz at 29.4 MB and AssetRipper_linux_arm64.tar.xz at 26.2 MB. The ARM64 asset passed the direct range check in this environment; the x64 card keeps the official release-page fallback because its CDN probe timed out.
| Build | Choose it when | Archive and note |
|---|---|---|
| Linux x64 | The machine reports x86_64; Intel or AMD is common. | AssetRipper_linux_x64.tar.xz · 29.4 MB |
| Linux ARM64 | The machine reports aarch64 or arm64. | AssetRipper_linux_arm64.tar.xz · 26.2 MB |
How to install AssetRipper on Linux
Linux installation is normally an extraction task rather than a package-manager install. The release archive contains the executable and supporting native files, so keep the complete folder together. Save it in a workspace you control, such as ~/Applications/AssetRipper/2.0.0, and avoid launching one file from an archive preview or moving libraries away from the binary.
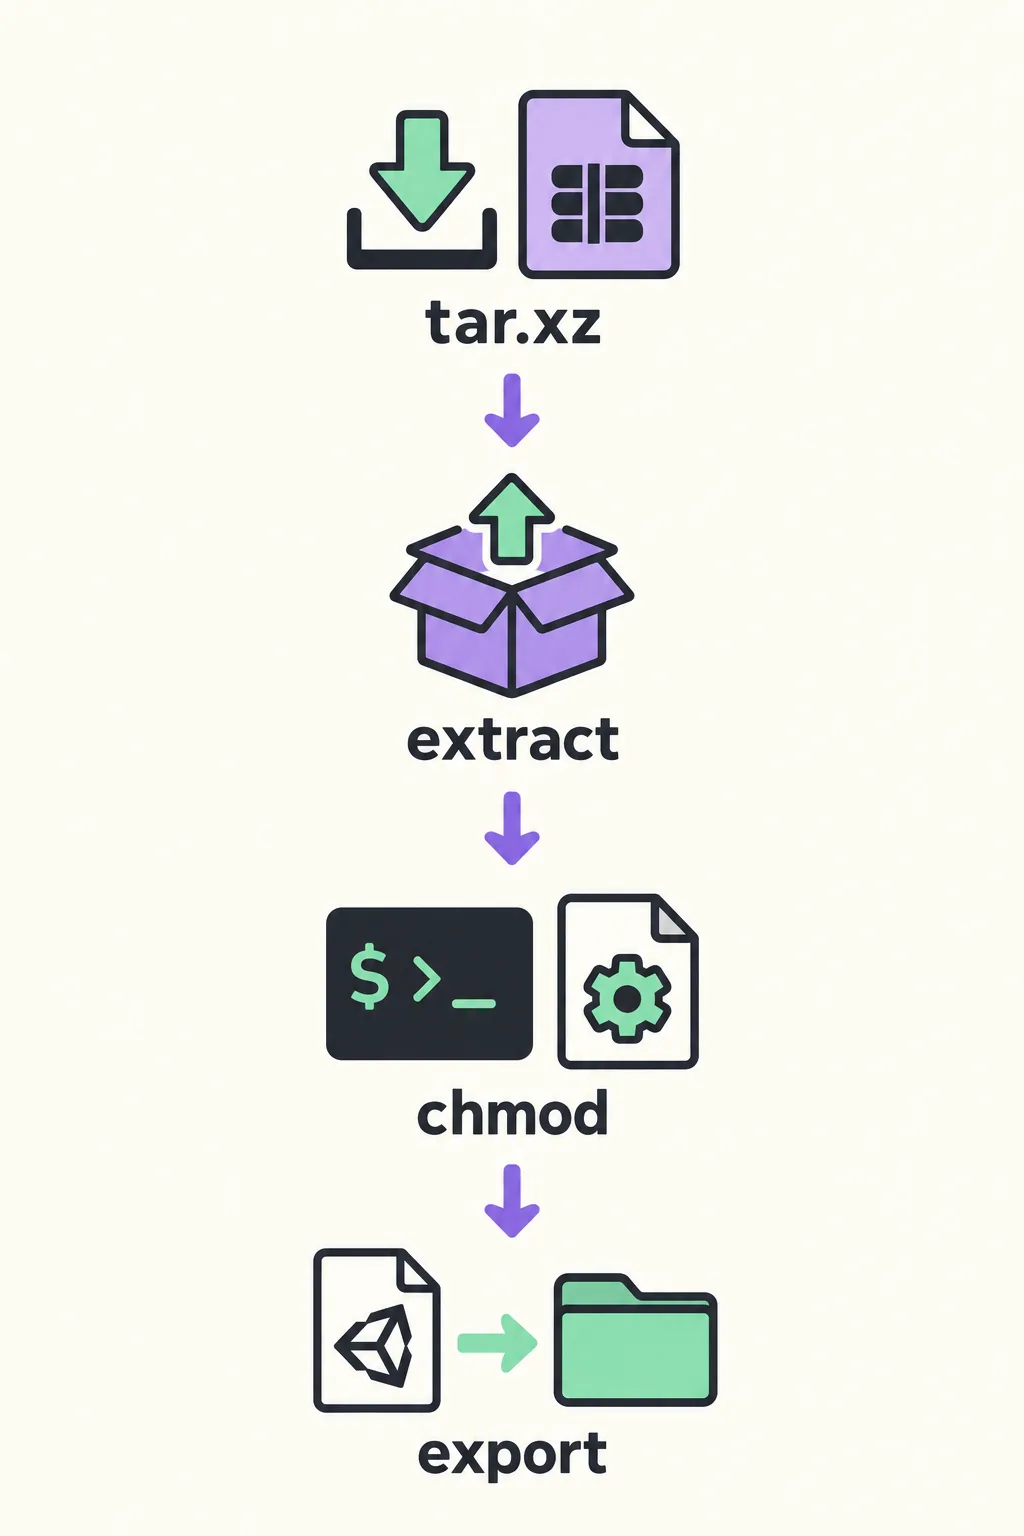
Create a fresh destination, extract the tar.xz archive with a tool that understands both tar and xz, and inspect the result before launching. A complete extraction should leave an obvious AssetRipper binary beside the files shipped in the release. If your file manager hides extensions, use the terminal so the filename and permission bits are visible.
Verify
Confirm x86_64 or aarch64 with uname -m and choose the matching official release asset.
Create
Make a new writable folder for the version you are testing; keep the original archive nearby.
Extract
Run tar -xJf with the exact filename, or use a trusted archive manager that preserves the folder.
Inspect
List the extracted files and check that the AssetRipper binary remains beside its native libraries.
Launch
Run the binary from the extracted directory, then test a small authorized Unity input.
Run the AssetRipper binary from a terminal
Change into the extracted directory and run the exact AssetRipper binary name. The ./ prefix matters because Linux usually does not search the current directory for executable files. If the shell reports Permission denied, add the executable bit to the file you intentionally downloaded, then run it again from the same folder.
Do not begin with sudo. Running as root can change ownership, hide a normal permission mistake, and make the output harder to inspect later. Use a short local path and keep the terminal open during the first launch so you can capture a missing-library message, display error, or clean startup. A graphical session under X11 or Wayland is separate from the parser's ability to read Unity data.
- Keep the terminal open until the application reaches its main window or prints a useful error.
- Use file ./AssetRipper and uname -m when an architecture mismatch is suspected.
- Do not install random third-party binaries to work around an unclear release source.
- Record the exact command, path, display session, and error text before changing several variables at once.
cd ~/Applications/AssetRipper/2.0.0 && chmod +x AssetRipper && ./AssetRipperFix Linux permission and library errors
Linux launch messages usually point to a different boundary than a no-files-loaded message. Permission denied normally concerns the executable bit or a directory that cannot be traversed. No such file or directory can mean that extraction was incomplete, the path is wrong, or a native loader dependency is missing even when the named application file appears to exist.
If the binary starts but no window appears, check that you are in a desktop session with a usable display and that the terminal is not an SSH shell without graphical forwarding. If the window opens and AssetRipper reports no files, stop changing Linux permissions and investigate the selected folder, file type, Unity version clue, encryption, compression, and dependencies instead.
Permission denied
Likely cause: The binary is not executable, or the directory is mounted with restrictive permissions.
Try this: Use chmod +x on the intentional release binary, choose a writable local folder, and retry without sudo.
No such file or directory
Likely cause: The archive was only partly extracted, the path is misspelled, or a loader dependency cannot be found.
Try this: List the folder, re-extract the complete archive, and record the exact filename and terminal output.
The command returns but no window appears
Likely cause: The process may be running outside a graphical session or the display environment is unavailable.
Try this: Launch from a local desktop terminal and compare the message before investigating Unity input files.
AssetRipper opens but finds no files
Likely cause: The selected path may be the wrong folder level, unsupported, encrypted, or missing related data.
Try this: Test one small authorized Unity file or bundle, then follow the input checks in the troubleshooting guide.
- Keep the official release page as the source when a CDN download or filename cannot be verified.
- Do not mix files from different AssetRipper versions in one extracted folder.
- Do not confuse a missing graphical session with an AssetRipper parser failure.
- Preserve the shortest useful terminal error and remove private project paths before sharing it.
Test a small Unity input before exporting
Once AssetRipper launches, treat the first input as a controlled compatibility test. Use one serialized Unity file, one asset bundle, or a small project-shaped folder that you own or are authorized to inspect. Loading a complete game directory first can combine platform permissions, missing dependencies, unsupported data, and a very large memory request into one confusing result.
Choose a new output directory and keep the original input untouched. Start with the simplest useful export mode, inspect the generated files, and then add related resources only when the result shows a dependency. Linux does not remove parser limits: Unity version clues, compression, encryption, custom packaging, shaders, materials, and missing bundles can still produce an incomplete export after a successful launch.
Use ordinary Linux paths during the baseline test. Quote a path containing spaces, avoid a protected or synchronized folder until the workflow is known to work, and keep a note of the archive filename, architecture, input type, output location, and visible warning. That small record makes it easier to decide whether the next step belongs in the Linux guide, the Unity guide, or troubleshooting.
- Use only an authorized input and keep the original copy unchanged.
- Record AssetRipper 2.0.0, Linux architecture, distribution, and exact input path.
- If no files load, verify the folder level and test a smaller serialized file or bundle.
- If textures or materials are missing, locate related resources before calling the export corrupt.
Linux checklist before an issue report
Before opening an issue, separate a launch failure from a loading or export failure. A launch failure happens before the application reaches its normal window and belongs to archive choice, extraction, executable permission, native libraries, or the graphical session. A loading failure happens after startup and belongs to the selected path, Unity data, dependencies, or parser support.
A useful Linux report is short but reproducible. Include the release version, architecture from uname -m, Linux distribution, archive filename, extraction location, exact command, whether a window opened, input type, output mode, and the smallest warning that explains the failure. Remove private usernames, project names, and proprietary paths before posting logs or screenshots.
- Confirm the archive matches x86_64 or aarch64 rather than guessing from the distribution name.
- Confirm the complete folder was extracted and the binary is executable.
- Run from a writable desktop path and keep the original archive for comparison.
- Test one small authorized Unity input before selecting a large directory.
- Record whether the problem occurred before launch, while loading, or during export.
- Link to the official release page when a direct asset probe or mirror cannot be verified.
uname -m && file ./AssetRipperAssetRipper Linux questions
Does AssetRipper run on Linux?
The official 2.0.0 release lists Linux x64 and Linux ARM64 tar.xz archives. Your desktop session, native libraries, architecture, and Unity input still affect the result.
Which AssetRipper Linux file should I download?
Run uname -m. Use AssetRipper_linux_x64.tar.xz for x86_64 and AssetRipper_linux_arm64.tar.xz for aarch64 or arm64.
How do I extract AssetRipper_linux_x64.tar.xz?
Create a new folder and run tar -xJf with the exact archive filename, or use a trusted archive manager that preserves all files in the release folder.
Why does Linux say Permission denied?
The extracted binary may not have its executable bit. Run chmod +x on the intentional AssetRipper binary, use a writable local folder, and retry without sudo.
Why does AssetRipper open but say no files loaded on Linux?
The Linux launch may already be working. Check the selected folder level, file type, Unity version clue, encryption, compression, and related dependencies with a small authorized input.
Is the Linux direct download always available?
No. This site's direct asset button is shown only when the file probe passes. Otherwise use the official GitHub release page, which remains the source of truth for the current asset.